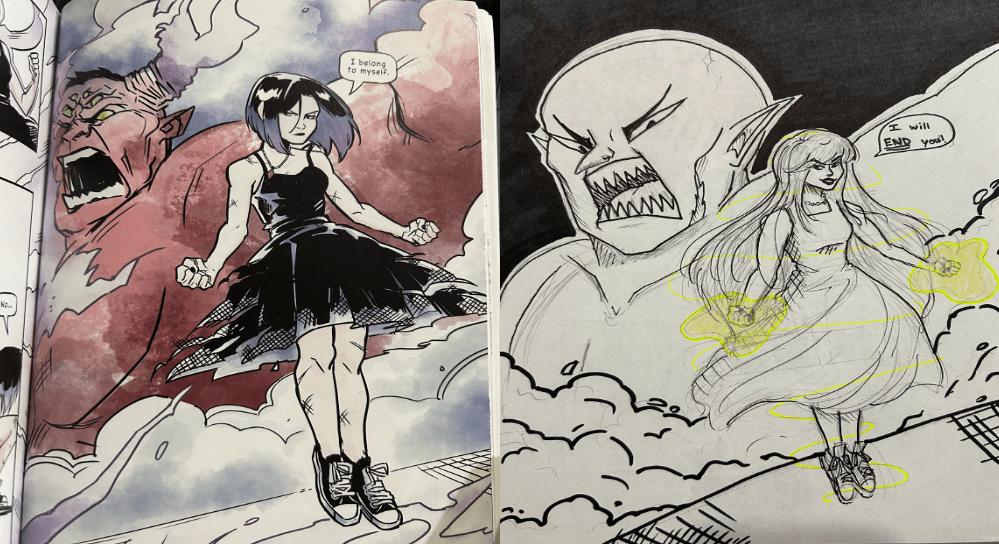
For this comic panel, I had to recreate or redesign an existing comic piece and make it my own. As I was thinking about where I was going to get my inspiration from, I immediately remembered that I had a few graphic novels sitting on my bookshelf. Once I looked through them, I decided upon the graphic novel called Teen Titans: Raven, written by Kami Garcia and illustrated by Gabriel Picolo. For context, this is a story about a seventeen year-old girl named Raven who lost her memories in a car accident and has to finish her senior year in high school while trying to remember who she once was. Personally, I really liked this story, but one of the main reasons why I chose this book is because I love this art style and the way Gabriel Picolo uses different perspectives and drawing techniques to make the characters of the story feel more alive, giving Kami Garcia’s written part of the novel more meaning and depth to it.
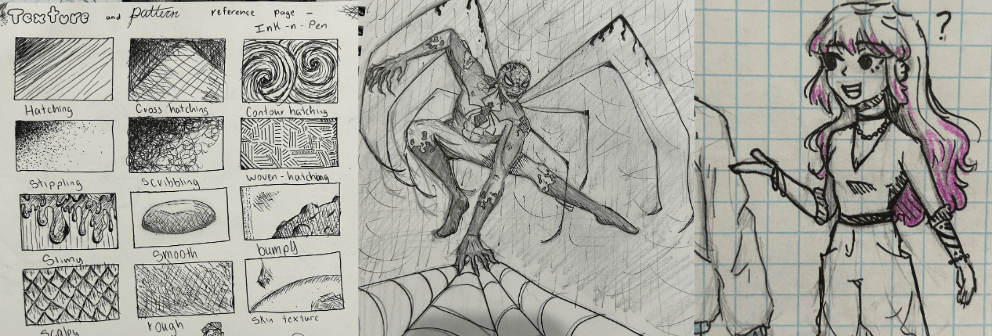
In order to make my own version of this panel, I decided to take some inspiration from some of my own characters that I have previously drawn or doodled. I found a few drawings that I thought would fit right or fit the style that I was going for.
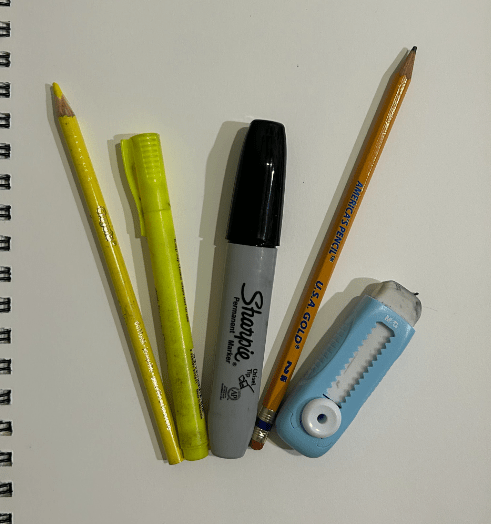
These here on the left are the materials I used. Nothing fancy really, just some common school supplies: a pencil, paper, eraser, highlighter, sharpie, and a yellow colored pencil.
For my drawing process, I started to just map out the location of my two main subjects. I made sure to keep the character in the background way larger than the one in the foreground in order to make it seem like he was huge and filled up half of the paper. I then used a series of lines and shapes to give me an idea about the general perspective of the piece. In other words, these lines and shapes provide a sense of direction of which way the characters are facing, their body postures, or even their facial expressions. Afterwards, I lightly erased these lines and went over them with a final sketch before I went over them with ink. Once that sketch was done I used sharpies of different thickness and outlined my piece. I also used a technique called “hatching”, the use of thinner lines that can create different effects. In this case, I used them for shading. For the finishing touches, I colored the background with a black sharpie to fill in the space and make the rest of the piece stand out. Finally, I used a highlighter and a yellow colored pencil to create a glowing effect to make it seem like the main character had powers, as well as to add some color to hopefully make it more appealing to the eye.